
Engineered Wood vs Hardwood: Complete Comparison Guide
Learn the key differences between engineered wood and hardwood flooring to make the best choice for your home and budget.
- May 26, 2025
- joshenns003@gmail.com
- 11:35 pm
Introduction to Choosing Wood Flooring
Have you been looking at that old wooden dresser or desk, wishing it matched your style better? Painting furniture is one of the most budget-friendly ways to update your home. A fresh coat of paint can turn an outdated piece into something that looks brand new.
Before starting your painting project, you might need to clean your old wood furniture to remove years of dirt and grime. If you notice any mold growth, be sure to clean the mold off your wood furniture first, as painting over mold can lead to problems later.
Solid wood furniture makes the perfect canvas for creative painting projects. Whether it’s an old family piece, a thrift store find, or real wood furniture that doesn’t fit your style, paint can give it new life.
You don’t need to be a pro to get great results when painting wooden furniture. With some basic prep work, the right paint for wood, and simple techniques, you can create a finish that looks professional and lasts a long time.
This guide will show you how to paint wood furniture step by step – from getting it ready to adding the final protective coat.
Before We Begin: Preparation Tips
Good prep work is the key to successful furniture painting. Taking time to set up properly will make your project go smoothly and give you better results.
Essential preparation steps:
- Work in a well-aired space with good lighting
- Cover your floor with drop cloths
- Take off all hardware (handles, knobs, hinges)
- Clean your work area to keep dust away
- Gather all supplies before starting
Setting up a proper workspace makes painting furniture easier and protects your home from paint spills. Try to work in a garage with the door open or outdoors on a mild day with low humidity.
Assessing Your Wooden Furniture
Before you choose paint or start prepping, take a good look at your furniture. Understanding what you’re working with helps you decide the best approach.
Check these furniture features:
| What You See | What It Means |
|---|---|
| Shiny surface | Needs special prep |
| Peeling finish | Needs thorough sanding |
| Bare wood for painting | Needs primer but less sanding |
| Dark stains | Needs stain-blocking primer |
| Detailed carvings | Needs special painting tools |
Different types of wood take paint differently. Quality wood furniture made from hardwoods like oak or maple behaves differently than pine. Solid wood furniture might have oil finishes, while newer pieces often have water-based coatings.
Look for problems to fix before painting:
- Loose joints or wobbly legs
- Deep scratches in the wood
- Water damage or warping
- Missing veneer
- Stains that might show through paint
Fixing these issues first ensures your painted piece will look great and remain sturdy for years.

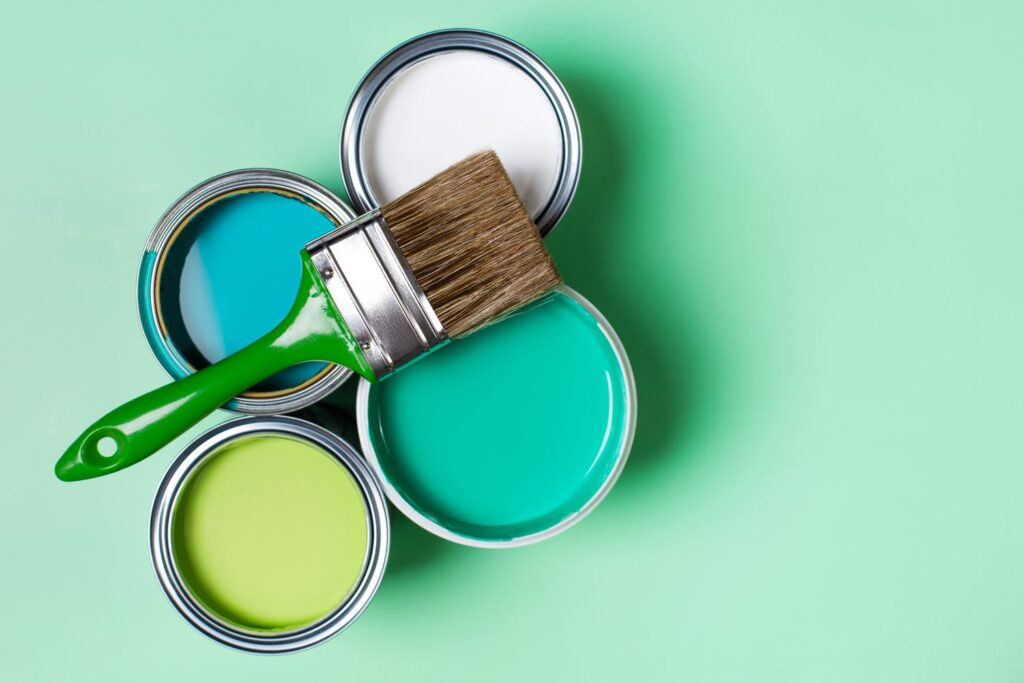
Choosing the Best Paint for Wood Furniture
Chalk Paint
Chalk paint has become popular for painting wooden furniture because it often doesn’t need much prep work. It creates a soft, matte, vintage look and sticks well to most surfaces. This water-based paint dries quickly and has low odor, making it great for beginners. You’ll need to add a protective topcoat to prevent chips.
Latex/Acrylic Paint
Latex or acrylic paints are durable and come in many colors and finishes. These water-based paints dry fast, clean up with water, and don’t smell as strong as oil-based paints. For furniture, look for “cabinet and trim” formulas made for surfaces that get a lot of use.
Milk Paint
Milk paint gives an authentic old-fashioned look and contains natural ingredients. It works well for creating worn, chippy finishes and comes as a powder you mix with water. Without a bonding agent, it might flake on some finishes – which can be either a problem or the look you want.
Oil-Based Paint
Oil-based paints offer great durability and a smooth finish that levels itself well. They resist wear and tear but take longer to dry and have stronger fumes. You’ll need paint thinner for cleanup instead of water. Many pros prefer oil-based paint for furniture that gets heavy use.
Spray Paint
Spray painting furniture can give a smooth, factory-like finish. It works well for pieces with lots of details or spindles. Quality furniture spray paints come in various types and finishes. Always use spray paint with good ventilation.
Step 1: Clean Thoroughly
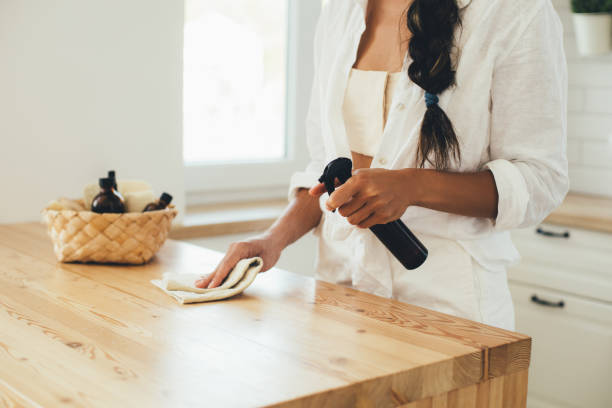
Remove all dirt, grime, and oils from the furniture. Even invisible oils from fingers can stop paint from sticking properly.
Use TSP (trisodium phosphate) or a similar cleaner, following the product directions. Wipe the entire piece, focusing on areas people touch often like drawer pulls and chair arms.
Rinse with clean water if using TSP and let the piece dry completely before moving to the next step.
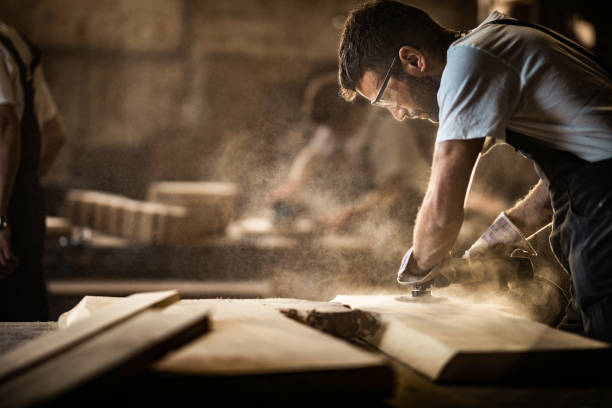
Step 2: Repair and Sand
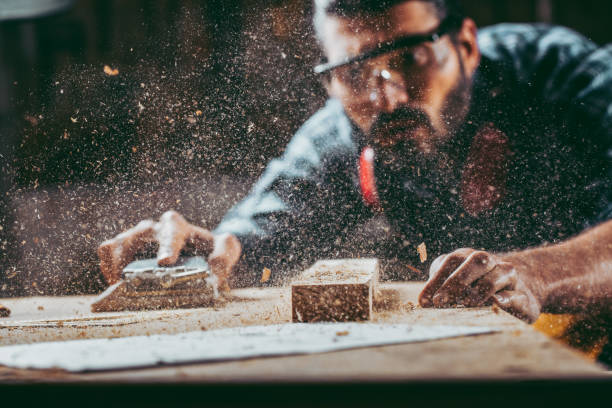
Fill any holes, cracks, or damaged areas with wood filler. Let it dry completely, then sand it smooth.
For most pieces, start with medium-grit sandpaper (120-150) to remove the existing finish and create a surface the new paint can grip. Follow with fine-grit sandpaper (180-220) for smoothness.
Sand in the direction of the wood grain when possible. Electric sanders make this job much faster, but be careful not to sand too hard and damage the wood.
After sanding, wipe all surfaces with a tack cloth to remove all dust. Even tiny dust particles can create bumps in your final finish.
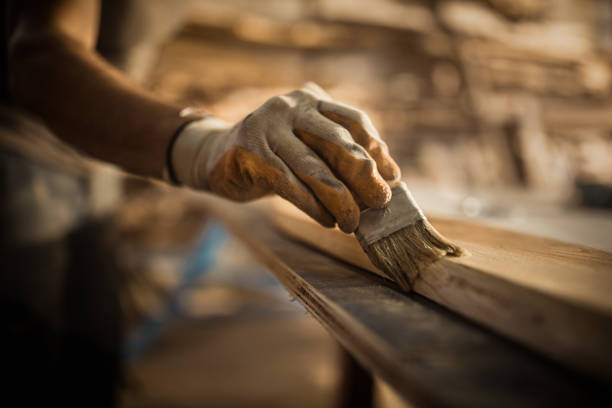
Step 3: Prime the Surface
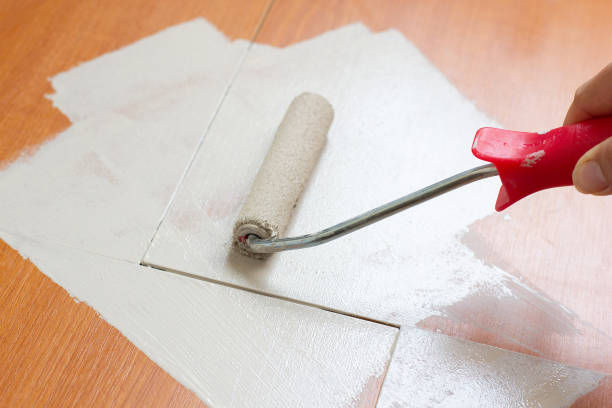
Apply a coat of quality primer made for wood. Primer does several important jobs:
- Creates an even surface for paint to stick to
- Blocks stains from showing through
- Reduces the number of paint coats needed
- Makes the final finish more durable
Use a brush for detailed areas and a small foam roller for flat surfaces. Apply primer in thin, even coats, working in the direction of the wood grain. Let it dry completely according to the label instructions.
For dark woods like cherry or mahogany, use a stain-blocking primer to prevent color bleed-through.
Step 4: Sand Lightly Between Coats
Once the primer is fully dry, sand lightly with fine-grit sandpaper (220 grit or higher). This isn’t about removing the primer but creating a smoother surface by knocking down any raised grain or brush marks.
Wipe away all dust with a tack cloth before painting. This light sanding is one of the secrets to getting a professional-looking finish.
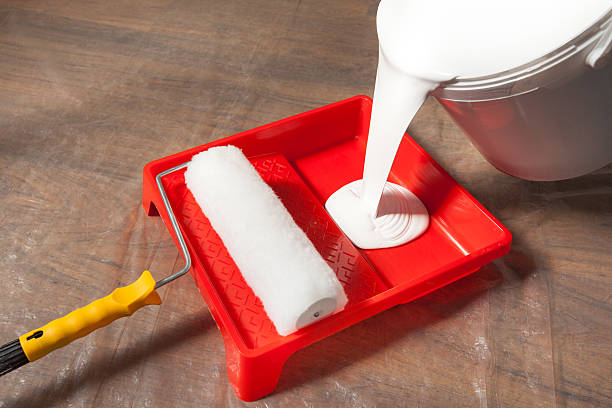
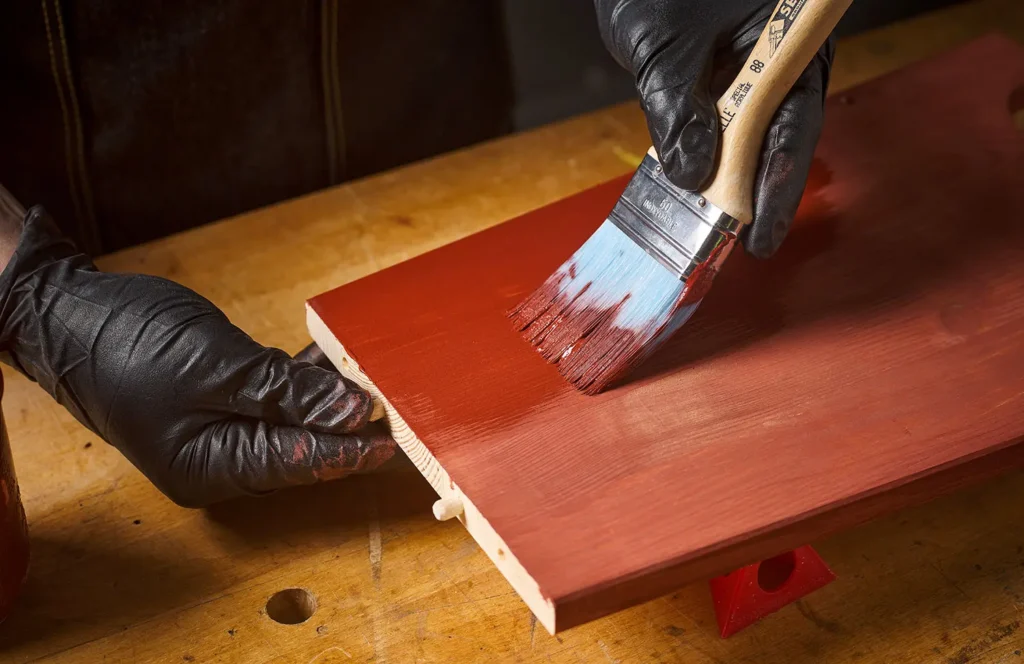
Step 5: Apply Paint in Thin Coats

Whether using a brush, roller, or spray, apply paint in multiple thin coats instead of one thick coat. Thin coats dry more evenly and are less likely to drip or show brush marks.
When painting on furniture:
- Use quality brushes right for your paint type
- Paint in the direction of the wood grain when possible
- Don’t overwork the paint – apply and move on
- Keep a “wet edge” by not letting sections dry before connecting to them
- Start with detailed areas before moving to larger flat surfaces
When using a roller:
- Choose a small foam roller for minimal texture
- Roll in one direction, then lightly “lay off” in the direction of the grain
- Apply even pressure to avoid lines at the roller edges
Let each coat dry completely before adding the next. Most projects need 2-3 coats for best coverage.
Step 6: Apply a Protective Finish
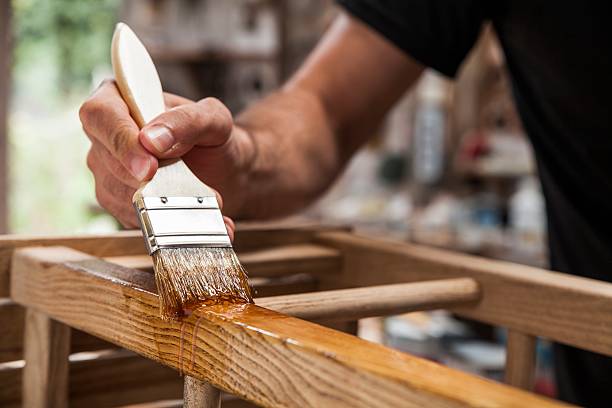
Unless you’re using a self-sealing paint, apply a clear protective topcoat for durability. The type of sealer depends on your paint and desired finish:
- Polyurethane provides great durability for high-use pieces
- Polycrylic offers good protection with less yellowing
- Wax creates a soft, hand-rubbed finish popular with chalk paint
- Furniture paste wax offers moderate protection with a nice sheen
Apply according to product instructions, using a brush, cloth, or foam applicator. Multiple thin coats provide better protection than one thick coat.
Techniques for A Better Experience
Painting Furniture Without Sanding
If you want to paint without sanding, you have several options:
- Use chalk paint, which naturally sticks to most finishes
- Apply a bonding primer made to stick to glossy surfaces
- Try a liquid deglosser (liquid sandpaper) to chemically etch the surface
- Use milk paint with a bonding agent for good adhesion
While these methods can work well, remember that sanding provides the most reliable surface for paint to stick to. Even a quick scuff sanding improves results significantly.
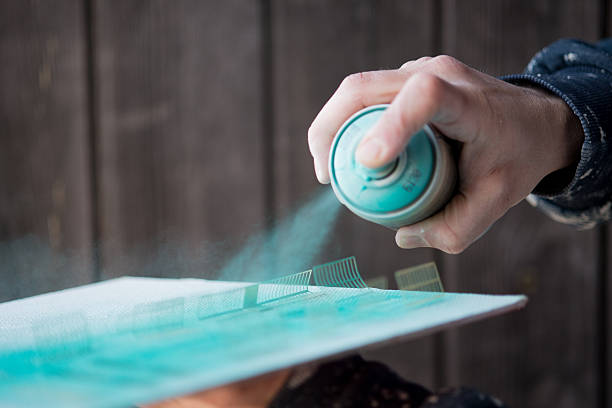
Spray Painting Furniture
Spray painting furniture creates a smooth finish without brush marks. For successful spray painting:
- Work outdoors or in a well-aired area with proper protection
- Apply in thin, even coats holding the can 8-12 inches from the surface
- Move in a steady, sweeping motion, slightly overlapping each pass
- Allow proper drying time between coats
- Consider using a spray paint handle attachment for better control
Quality furniture spray paints are worth the extra cost for better coverage and durability.
Maintaining Your Painted Furniture
Good care keeps your painted furniture looking great:
- Clean with a soft cloth and mild soap when needed
- Avoid harsh cleaners
- Refresh wax topcoats every 6-12 months if used
- Fix chips or scratches quickly
- Use coasters and placemats to protect surfaces
- Keep painted furniture out of direct sunlight
With proper care, your painted wooden furniture can stay beautiful for many years.
Pro Tip
When painting wood furniture, paint with the grain and keep a “wet edge” for the smoothest finish. Good brushes make a big difference – buy the best tools you can afford.
Frequently Asked Questions About Wood Painting
What happens if you don't sand before painting?
When you skip sanding, paint often peels or chips because it can’t grip the surface well. While some specialty paints like chalk paint can stick without sanding, most projects need at least light sanding. If you must skip sanding, use a deglosser and bonding primer instead.
How to prep furniture for painting?
Clean with a degreaser like TSP, fix damage with wood filler, sand to create a surface paint can stick to, and prime with the right primer. Take off all hardware before you start, and make sure everything dries completely between steps.
Can I paint over varnished wood without sanding?
Yes, you can paint over varnished wood without sanding if you use chalk paint designed for glossy surfaces or apply a bonding primer. Liquid deglosser can also help prepare the surface. For best results, a light scuff sanding will help the paint stick better.
Do you use a roller or brush to paint furniture?
Both work well for different purposes. Brushes are best for details, edges, and special effects. Foam rollers work well on larger flat surfaces for a smooth finish without brush marks. Many painters use both for different parts of the same piece.
How to paint wood and not leave brush marks?
Use quality brushes for your paint type, thin the paint slightly if needed, apply thin coats, and paint with the wood grain. Add paint extender to slow drying time, which helps the paint level out. Sand lightly between coats with fine sandpaper for an even smoother finish.
What kind of paint do you use on wooden furniture?
Choose based on your desired look and how the furniture will be used. Chalk paint works well for vintage looks. Latex or acrylic paints in satin or semi-gloss offer durability for everyday pieces. Oil-based paints last longest but take more time to dry. Add a topcoat for extra protection.
Taking Action on Your Furniture Painting Project
Painting wood furniture is one of the most rewarding DIY projects. With proper prep, good tools, and simple techniques, you can create custom pieces that perfectly match your home’s style.
Remember these key points:
- Take time with preparation
- Choose the right paint and tools
- Apply multiple thin coats
- Sand lightly between coats
- Protect your work with a topcoat
- Allow proper drying time
Start with a small, simple piece for your first project. As you paint more solid wood furniture, your skills will improve. Your newly painted furniture will bring you joy and a sense of pride in your work.


